


We have moved across the state and I now have my daughter and grandson living with me. I'm in the same town as 3 of my other grandchildren, so instead of crafting, I've been playing with them. While perusing Pinterest I found a craft to do with the kids and thought I'd share it with you. I found an excellent tutorial on Aestheticnest. Check it out.
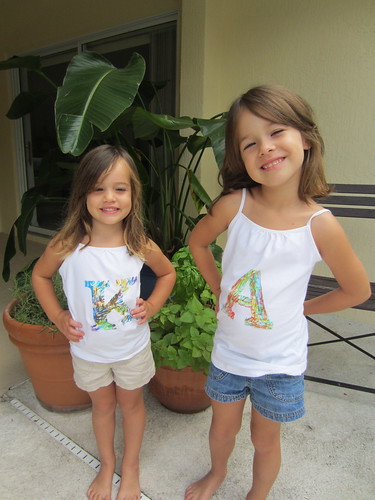
You will need: Freezer paper, fabric markers, (I used Crayola) and a cotton t-shirt I printed out out a K and an A then traced them onto my freezer paper, cutting them out as I watched the Olympics. I ironed each initial to a shirt, and my project was ready for my granddaughter's visit. They are scribbled all over their initial and once they were happy with how it looked, peeled off the freezer paper, and I heat set the marker design with an iron.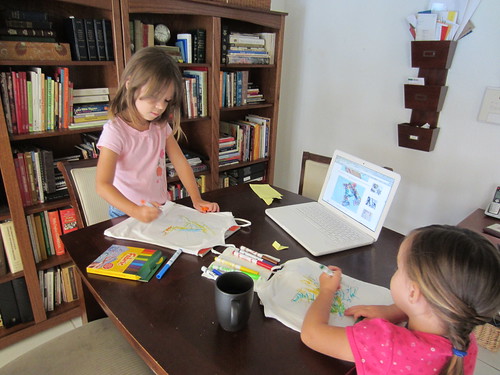
Here they are modeling their shirts. What a fun project!